

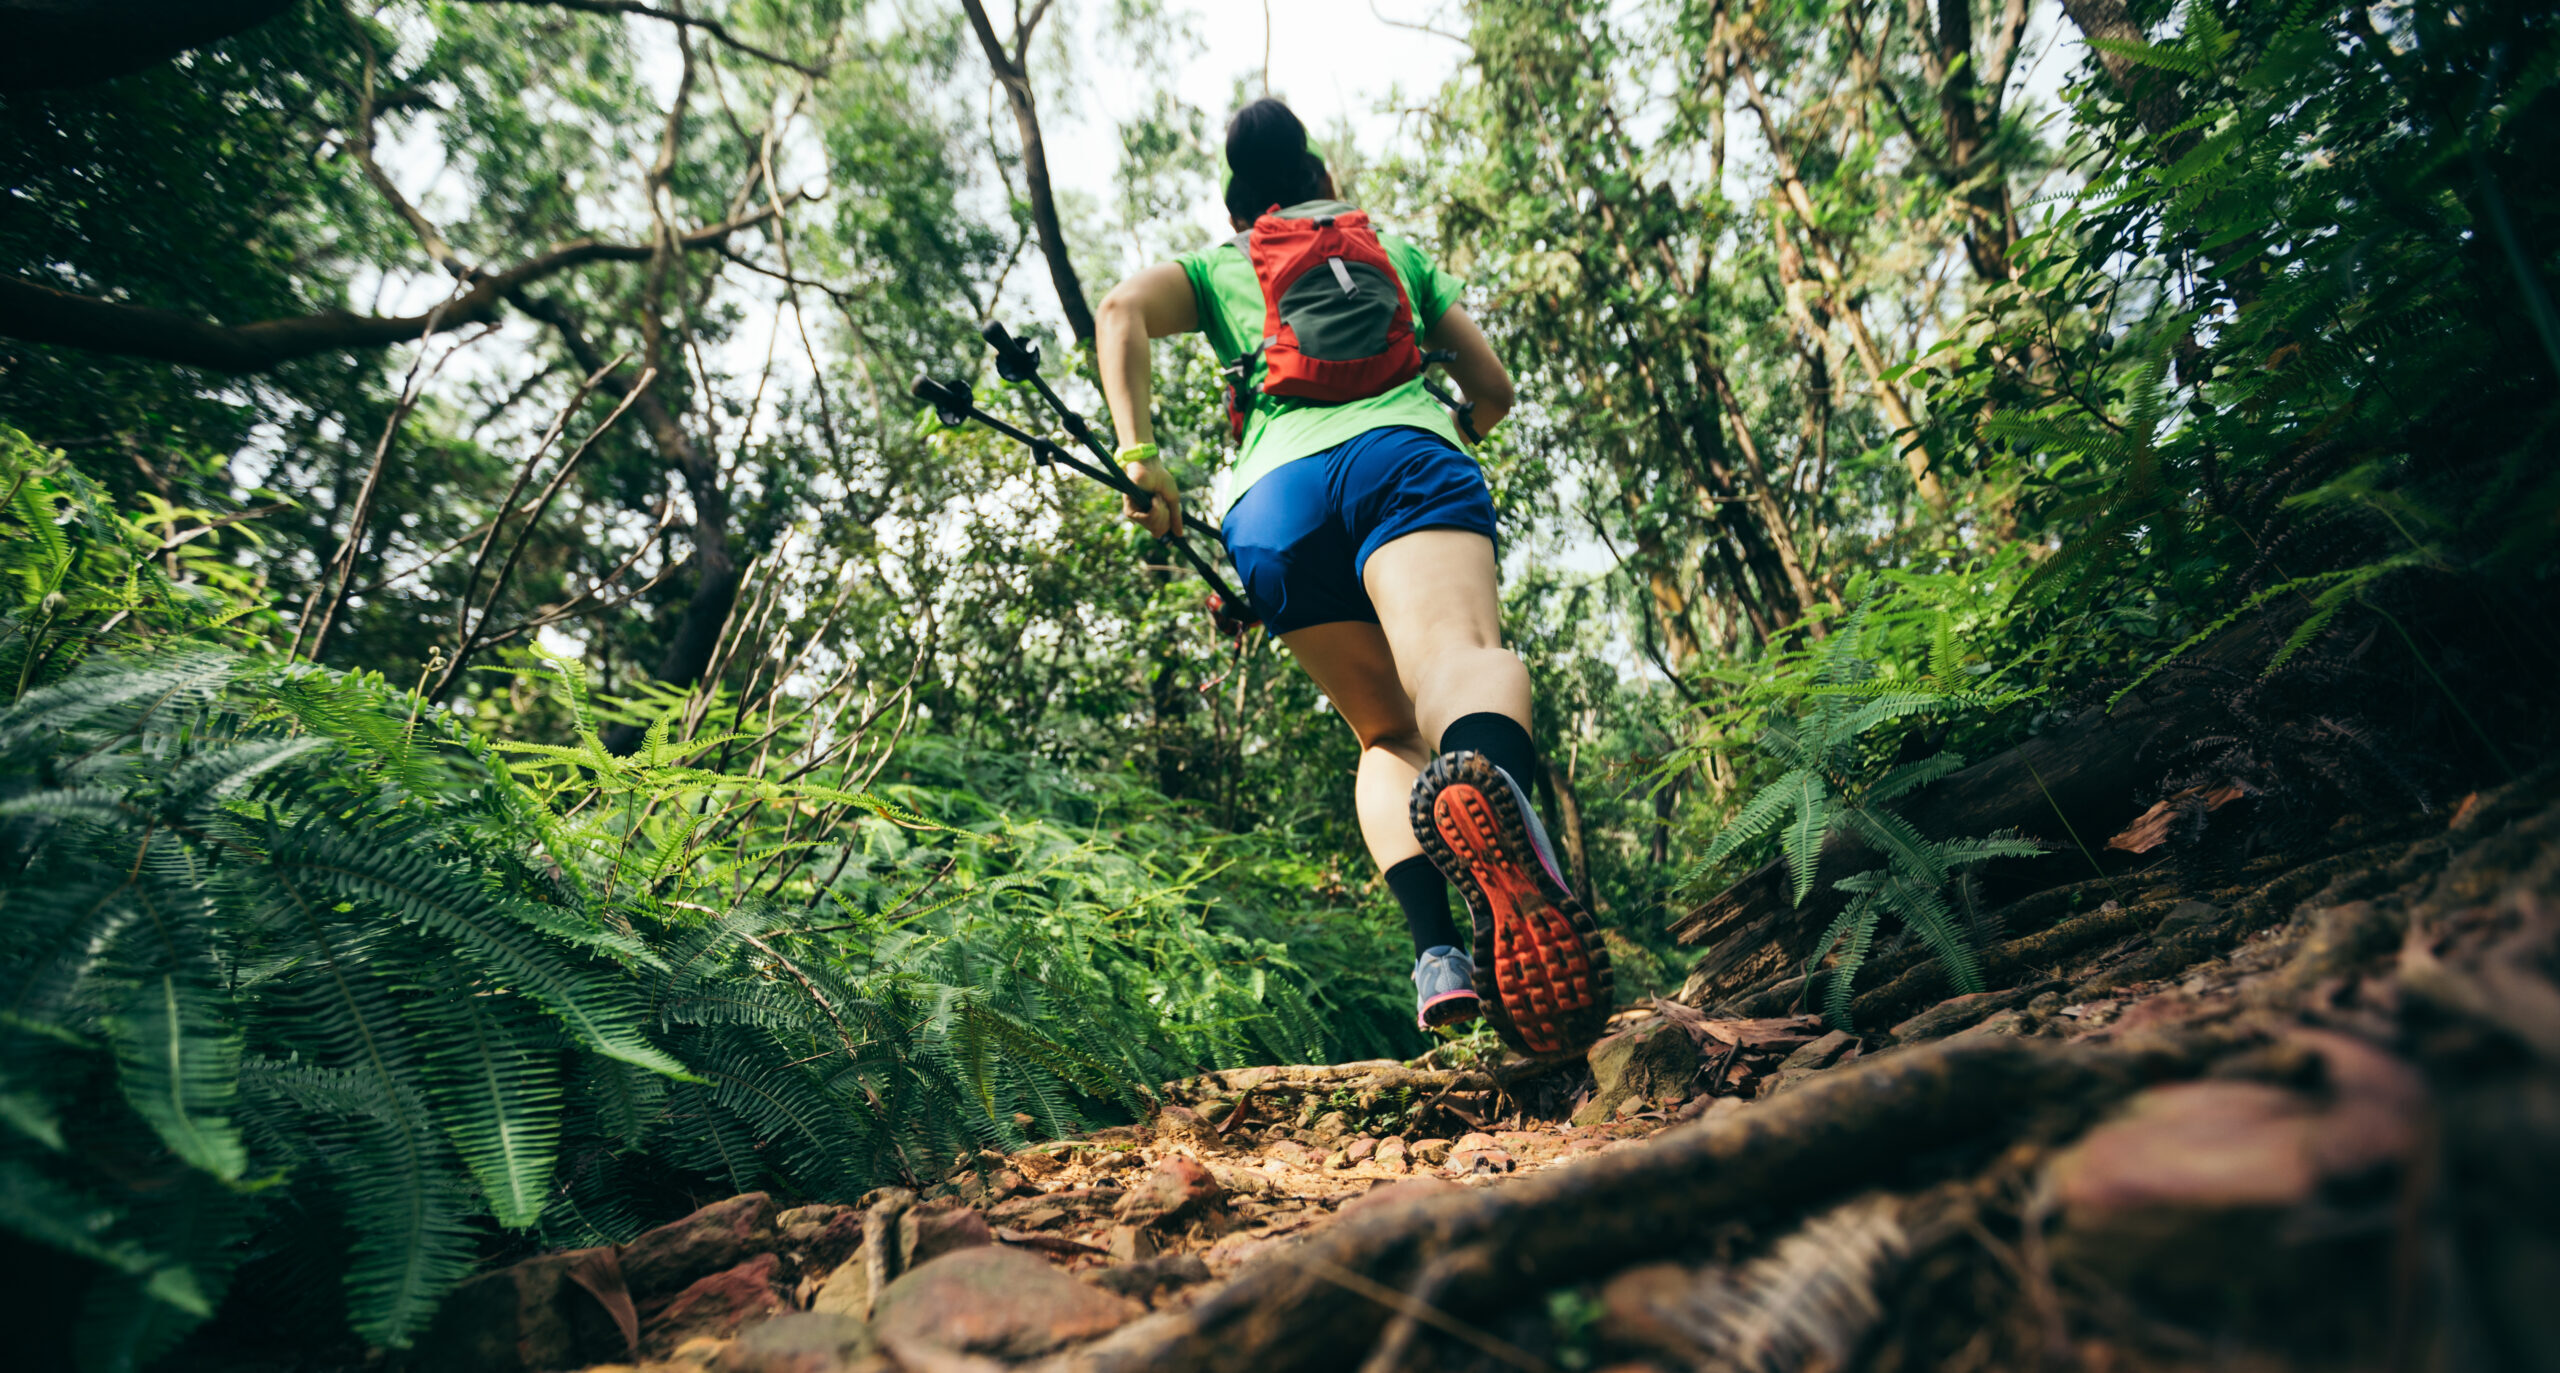
5 Essential Skills to Improve Your Trail Running Game | Intermediate Trail Running Pt. 1
Trail running in its core is easy. It’s basically a play in the woods. But once you have the basics down, the fun will move into getting good in increasingly difficult conditions.
A couple years ago, we gave you a little introduction to trails. Now that you’ve had some time to put these tips into practice and learned to slow down, watch your footing, bring water, and not be a menace to hikers, let’s step up the game with some intermediate trail running skills. This is the where you’ll start enjoying and even looking forward to technical trails and bad weather. You’ll learn to run smoother and safer. Faster when it makes sense. More confident when the trail gets weird.
Written & edited by Pavlína Marek
Also, a quick promise; I’ll keep the gear talk easy. Yes, gear can help, but when I say we’ll “improve your trail running game,” it mostly means skill. Here’s what we’ll be looking into in this article:
- More efficiency on climbs and descents so you’re not cooked halfway in
- Your form and how it can make or break your run
- How you can read the trail so you run with it, not against it
- Better footing and fewer stumbles, slips, and ankle moments
- More confidence, especially downhill and on technical sections
We’ll also focus on mindset. Trails reward adaptability more than perfect splits. If you try to run trails like a road workout, trails will humble you really fast. Some of these skills might feel difficult at first, but as Coach Eric Orton once said, “Don’t confuse difficulty with failure.”
1. Improve Your Form on Uneven Terrain
Road form is mostly about steady rhythm and efficiency. You run with your chest open and your arms swinging, and with each step exactly the same as the one before. As you might have already found for yourself, trail form is more about balance and traction. Speed comes second.
Posture
Keep your body tall, like you’re gently being pulled up from the chest. Adapt a slight forward lean from the ankles, especially when going uphill. Keep your shoulders and jaw relaxed, and unless you’re using poles or handheld bottles, let your hands relax too. On the downhill, keep your legs slightly bent at all times.
Eyes
You want your head up, not staring directly at your shoes the whole run. Look in front of you and read the terrain (more on this later). And don’t forget to look up and around you whenever the trail is smoother!

Arms
Trail arms are a thing. Not dramatic and flailing like the wings of a scared pigeon but a bit wider than when you’re running on the road. Your elbows will naturally go wider when the trail gets technical so you can balance. Your arms should help you feel active and ready for a challenge but you shouldn’t turn into an inflatable tube man.
Feet
On descents especially, avoid overstriding. When your foot lands way out in front, you brake. Braking means sliding, quad shredding, shin splints, and falls. Your feet should be quick and light, like you’re only keeping your body in the air and gravity is doing all the work of actually moving forward for you. A friend once described good downhill running form like a perfectly controlled fall.
A good mental cue is quiet feet. If your footfalls sound heavy and slappy, you are probably stomping, reaching, or braking. Quiet usually means you are landing under you with control.
2. + 3. Work on Trail Reading + Footwork, Two Skills That Will Make You Fell Like You’re Flying
In my humble opinion, this is where the magic lies. I’m slow as heck and could never keep up with my running friends on roads or smooth trails. But when the going gets technical, that’s when the gap shrinks. And once we hit a difficult, techy downhill, even my fastest friend who ran a 50K in half my time can’t keep up. You can be only moderately fit and still feel fast and smooth if you do these two things well.
Stop staring at your shoes
I’ve said it before and I’ll say it again; while your shoes might be pretty, they’re not the only thing you want to see during your trail run. depending on the technicality of the trail and your speed
When you’re running, scan the trail 5 to 15 feet ahead depending on the technicality of the trail and your speed. You’re looking for the general line, big hazards, upcoming turns, and good foot placements. At the same time, glance back and forth to do quick checks closer to your feet for the exact placement in the next step or two.
If you only look right in front of you, you react late and you stomp. If you only look far ahead, you miss the sneaky root that ruins your day.
Learn to read the trail
Trails aren’t just “dirt.” They are playgrounds and dancefloors, filled with obstacles and textures. Don’t fight the trail but read it and follow its direction. Foot placement matters. Traction is a skill. Shoes matter, sure, but how and where you place your foot makes all the difference.
Also, pick the best line, not the shortest line. The “straight line” often goes right through the worst rocks and roots. The good line might be one step to the side on smoother dirt.
Hardpack
Possibly the most forgiving and favorite surface of them all. Hardpack dirt is still soft enough to be kind to the joints but smooth enough so you can stretch your legs. You can be fast, consistent, and you can open up your stride.
Loose gravel
While still easy to run on, it can be unstable and roll underfoot, especially when you’re running fast and want to take a sharper turn or slow down quickly. (Ask me how I know; I had a piece of gravel embedded in my thigh for about two years from taking a turn a bit too fast, and accidentally doing a soccer-player-worthy slide.) You want slightly shorter steps and stable landings.
Rocky, rooty, technical
Sometimes, your best strategy with these is to choose the rocks. Look for stable, dry rocks and roots and land on the front of your feet. It will be more of a dance than a run. Have fun with it. Pick your way as if you were running across a minefield, because you might lose your ankle really quickly with a wrong misstep.
Wet roots and wet rocks
Avoid stepping directly on them when you can, they’re like nature’s animation banana peels. If you have to step on them, land flatter, softer, and less on the edge of the shoe. Don’t push off aggressively and keep steps quick and light. Landing on the ball of your foot will give you the softest landing and most control.
Mud
Mud is where overstriding gets severly punished. You’ll slip, do an involuntary split, and end up looking and feeling like you’ve just done a Tough Mudder instead of a trail run. If it’s not slippy, it can be incredibly sticky.
When running in mud, you’ll want to shorten your stride (you might start seeing a pattern here), accept slower speed, and look for edges with grass or firmer dirt if it’s safe and allowed. However, don’t destroy the trail to save five seconds and follow LNT practices. If you’re asked to stick to the trail, accept the mud and keep sensitive environments safe!
Sand
Lose sand will suck all your energy out. Because it’s soft, you don’t get any rebound and your achilles tendon, which usually acts as a spring, will be mostly useless. Unless they’re wet and slippery, your better choice will be to skip across rocks, even if it means uneven steps.
In sandy environments, take shorter steps and increase your cadence. Manage your effort, not pace. If you try to force road pace in sand, you’ll just spike your heart rate and destroy your legs.
Off camber trails
Your ankles, knees, and hips will hate these. These trails feel annoying because they are. Whether you’re running on a singletrack that has been weathered into the shape of a “V” or on a service road that’s tilted to hell and back, gravity will fight against you and your joints.
On off camber trails, try to keep your hips level and shorten stride (yes, again). Prioritize stable placements and adapt a “switchback” running style if possible. Sometimes, the best move on these is to slow down 5% and stop fighting it.
Footwork priorities
Stability comes first, speed is secondary. When choosing your path, you should be able to keep flowing smoothly across the terrain, even if each step will be different. Again, you should feel like you’re gliding above the terrain instead of fighting in. Focus on light and fast steps. You are not trying to stomp through. On smooth sections, sure, open up. Earn your speed.
4. Climb Smarter: Pacing, Power Hiking, and When to Save Your Legs
One day when running with my friend who was a much better runner than me, I asked him how to run as fast and as far as he did. He held me back then and said, “You see that? That is a hill. Pro tip: hike that s***.” Strong trail runners hike too. They just do it on purpose.
Especially during long efforts, trying to run every climb is a trap. You spike your heart rate, work much harder with minimal payoff, and then pay for it for the next hour. The trail doesn’t care about your pride. It rewards patience.
Effort-based pacing
- Easy: you can talk in full sentences
- Steady: you can talk but only in short sentences
- Hard: you can produce only a few words at a time
- Too hard: you’re doing that panicky breathing thing
Most climbs should feel controlled and steady, not too hard, unless you are specifically doing a workout. You shouldn’t finish a climb thinking, “There’s no way I can run again on these legs!”
The same friend who taught me about hills also taught me to try to sing. If I can sing, even if it’s a little broken and off-key, I’m going at the correct effort.
When to hike vs run
Sometimes, power hiking is the best thing you can do for your run. There comes a point where it’s faster than running while saving you energy.
- it’s steep enough that your form collapses when running
- traction is bad and you’re slipping
- your heart rate spikes instantly
- you’re trying to conserve legs for a long run or race
- fatigue is building and you need to stay aerobic
And remember, hiking is not failure. Power hiking is a weapon. Keep it tall, hands on thighs if you want, short steps, steady rhythm.
Micro goals on climbs
Pick small targets. Run to the next switchback. That tree. That rock. Then reassess. This keeps you from doing too much, too fast, and then paying for it.
5. Descend With Control; Speed Will Come With Confidence
The last lesson of today lies in the hills. Despite what you might think, downhills are where people gain or lose the most time. And where most falls happen. So yeah, this is the skill to learn and respect. We’ve already touched on some of these principles; all of them apply more on the downhills.
Body position
You want a slight forward lean with your hips under you and slightly bent knees. Keep a lower center of gravity. Don’t lean back and brake too much. I know, leaning back feels safer, but it’s not. It makes you overstride, destroy your quads, and lose traction. Landing on heels also takes away your ability to balance and react quickly when the terrain is different from what you expected or when you slip/step wrong.
Braking management
Instead of “stop then go,” aim for continuous control. Choose controlled lines early, use switchbacks properly, don’t cut them, and avoid sudden hard braking steps (your knees and everything else will than you). Also, let your ankles be a little springy. Stiff ankles make everything feel sketchier. (Speaking of which, strengthen your ankles.)
Confidence progression
Your first goal is smoothness, not speed. If you can descend with quiet feet and relaxed breathing, speed will show up naturally.
See You Next Time!
Having left you with some homework, this is where we’ll stop for today. Go out there, have some fun, and practice those skills! I’ll see you back soon with a part two of this intro to intermediate trail running!